I recently printed yardage with a Gel Press plate and discovered a few tips to make the process easier. The largest Gel Press plate is 12” x 14” and the fabric that I wanted to print was 108” long and 54” wide so I needed a way to cover the fabric with printing using the plate to create repeats and to make sure that the repeats lined up and didn’t overlap each other.
For this project I used:
- The 12 x 14 Gel Press Plate
- The 4″ Round Gel Press Plate
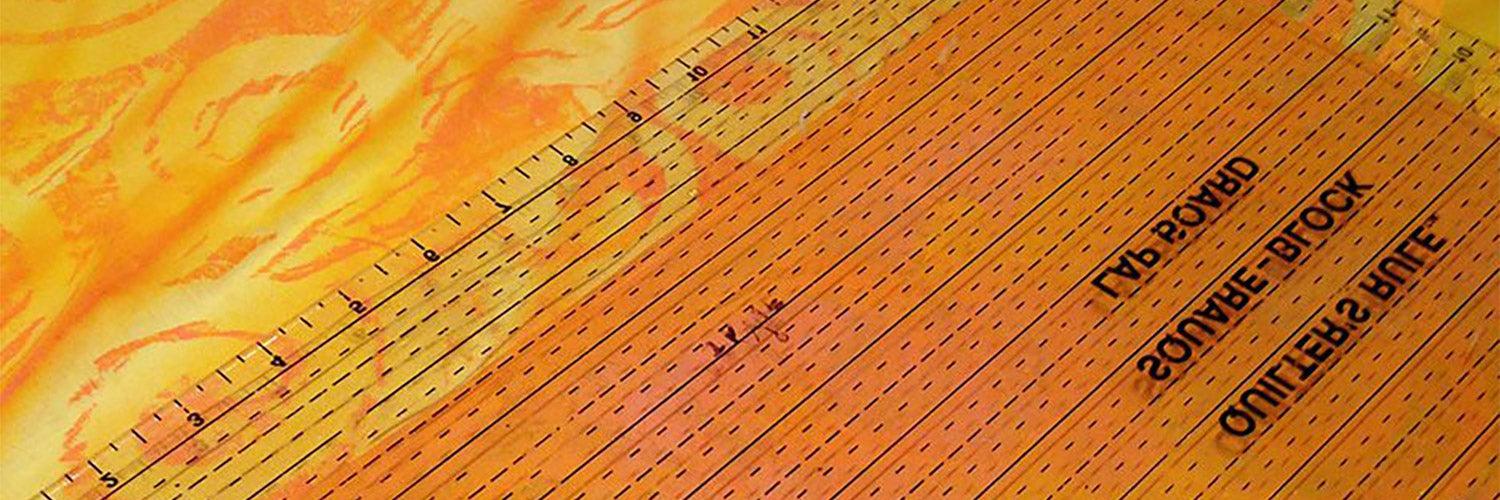
Previously I’ve used blocks of acrylic as a base for small Gel Press plates. The clear acrylic blocks are ideal because you can see through them for perfect placement and the Gel Press plates cling to them until you’re ready to remove them. I needed something like that to print with the large plate and cast about my studio looking for a substitute. Aha! I have an assortment of large quilting rulers and a large 16” square is the perfect size to support a large Gel Press plate!

Tip:
If you don’t have a large quilting ruler or square, you can buy a piece of 1/8” thick acrylic at a frame shop or a glass store, cut to your specific size. Ask them to “finish” the edges, which softens them slightly so they’re not sharp and won’t cut you.
I carefully lined up the Gel Press plate with the lines on the quilting ruler and flipped it upside down to make certain that it was well adhered before adding paint.
I squirted a good-sized dollop of several paint colors directly onto the Gel Press plate and blended them together, covering the plate, with a soft rubber brayer.
Tip:
Add a little bit of retarder to acrylic paint to increase the drying time so the paint doesn’t dry too quickly and you have time to work. Use soft-body acrylics for best spreadability.

Once the plate was completely covered in an even layer of paint, I laid a sheet of large-scale bubble wrap onto the plate and pressed firmly all over the back with the palm of my hand.

I carefully removed the bubble wrap from the plate and set it aside. The bubble wrap does not need to be cleaned or washed off between uses.

Tip:
All sorts of things can be used to press textures and patterns into an inked-up plate, bubble wrap is just one of them! Try using a stencil or rubbing plate, a textured placemat, lace, etc. Anything that can stand up to the moisture of the paint and that has an interesting texture or pattern is perfect.
Before starting my project I cut spiral shapes out of cardstock to use as masks. If you cut spirals, remember that the inside of the spiral is also a spiral so you get two different sized spirals each time you cut out one! I always cut several layers of paper at the same time to create lots of mask shapes quickly. Cardstock masks are sturdy enough to be used over and over again, and can even be set aside to dry to use themselves in a collage project.

I placed the spiral shapes all over the fabric, covering an area at least the size of the Gel Press plate. I made sure to have some of the spiral shapes extend past the size of the plate for a more organic and natural effect.

Because I could see through the quilting ruler I was able to place the Gel Press plate exactly where I wanted it. I needed to butt the edges of the plate against the previous print so I didn’t leave unprinted gaps. I press down on the back of the quilting ruler to ensure a good print. When you try this, don’t press too hard though! You don’t want to break your ruler!

To create repeats of the printed design across the surface of the very large piece of fabric, I created a pattern similar to brick laying. The first row started by printing a full Gel Press plate along the edge of the fabric, the second row started by printing half of the plate on the fabric and half off. In this manner I didn’t end up with the lines between the plates creating a very prominent line along the length of the fabric.

Tip:
Another way to create repeats on fabric is to tape lines onto the table surface before laying the fabric on it. If you use blue painter’s tape you should be able to see the lines of the tape through the fabric and can use them to line up the Gel Press plate when printing.
I decided to add another layer of design to the fabric using a small 4″ Round Gel Press plate. I mixed up a number of colors of acrylic paint with a little retarder added in each.

Instead of a brayer, I like to use a small foam brush to apply paint to the small Gel Press plates. I like the texture of the brush strokes showing in the finished print. I applied a thin even layer of acrylic paint to the circle plate.
With the small plates I find it easier to place the mask on the plate itself instead of on the surface that I’m printing, as I did with the masks and the large plate, so I lightly tapped a spiral into position on the circle plate. I left the protective plastic sheet on the back of the plate for stability, although you could use an acrylic block for support instead.
After I placed the plate on the fabric and pressed the back of the plate firmly with the palm of my hand, I carefully lifted up the round plate by the protective plastic sheet and removed it from the fabric.
Tip:
It isn’t necessary to clean off the plate after each use, even if you are changing colors of paint. You can simply apply more of the same or different paint to the plate and continue printing. A different color paint to the original will create a mottled or blended effect, which is really interesting.

The final print reveals another layer of surface design over the original printed layer. I continued to add more printed spirals using the circle plate and different colors of paint across the entire surface of the fabric.
Tip:
You do not need to use special textile or fabric paint to print on fabric. Regular acrylic paint is permanent on fabric once it has cured (typically about 3 days). If you do use textile or fabric paint, remember to heat set it by running a warm iron over the surface of the fabric. If you would like a softer “hand” (the way it feels) to the fabric, consider adding a little textile medium to the acrylic paint for printing. Any paint with textile medium added to it will need to be heat set to render it permanent and washable.

Now you can print large pieces of fabric using your favorite Gel Press printing plates and turn that fabric into décor for your home or clothing that you can wear!
Jane Davila - Working Artist for Gel Press


