
Key Highlights
- Monoprinting, a versatile printmaking technique, allows for unique and expressive prints.
- Unlike traditional printmaking, monoprinting doesn't involve a fixed matrix, enabling creative freedom and spontaneity.
- From gel plate printing to using found objects, numerous techniques offer diverse effects.
- Artists of all levels, from beginners to experienced printmakers, can enjoy the versatility of monoprinting.
- Experiment with inks, tools, and textures to uncover the endless creative possibilities within monoprinting.
Introduction
Monoprinting is an interesting way to make prints. It is known for producing one-of-a-kind prints from an inked surface. Unlike other printmaking methods like etching or woodblock printing, monoprinting brings a sense of spontaneity. Each print is a unique piece of art. This makes it a fun way to explore and express creativity.
Explore 10 Innovative Monoprinting Techniques Today
Are you looking for new ways to express your art? Check out monoprinting! This guide will take you through ten different techniques. Each one gives you a special way to make unique prints. Whether you like bright layers of color or fine line work, there’s a technique for you to find.
Get ready to dive into creativity with these new methods that can inspire your art.
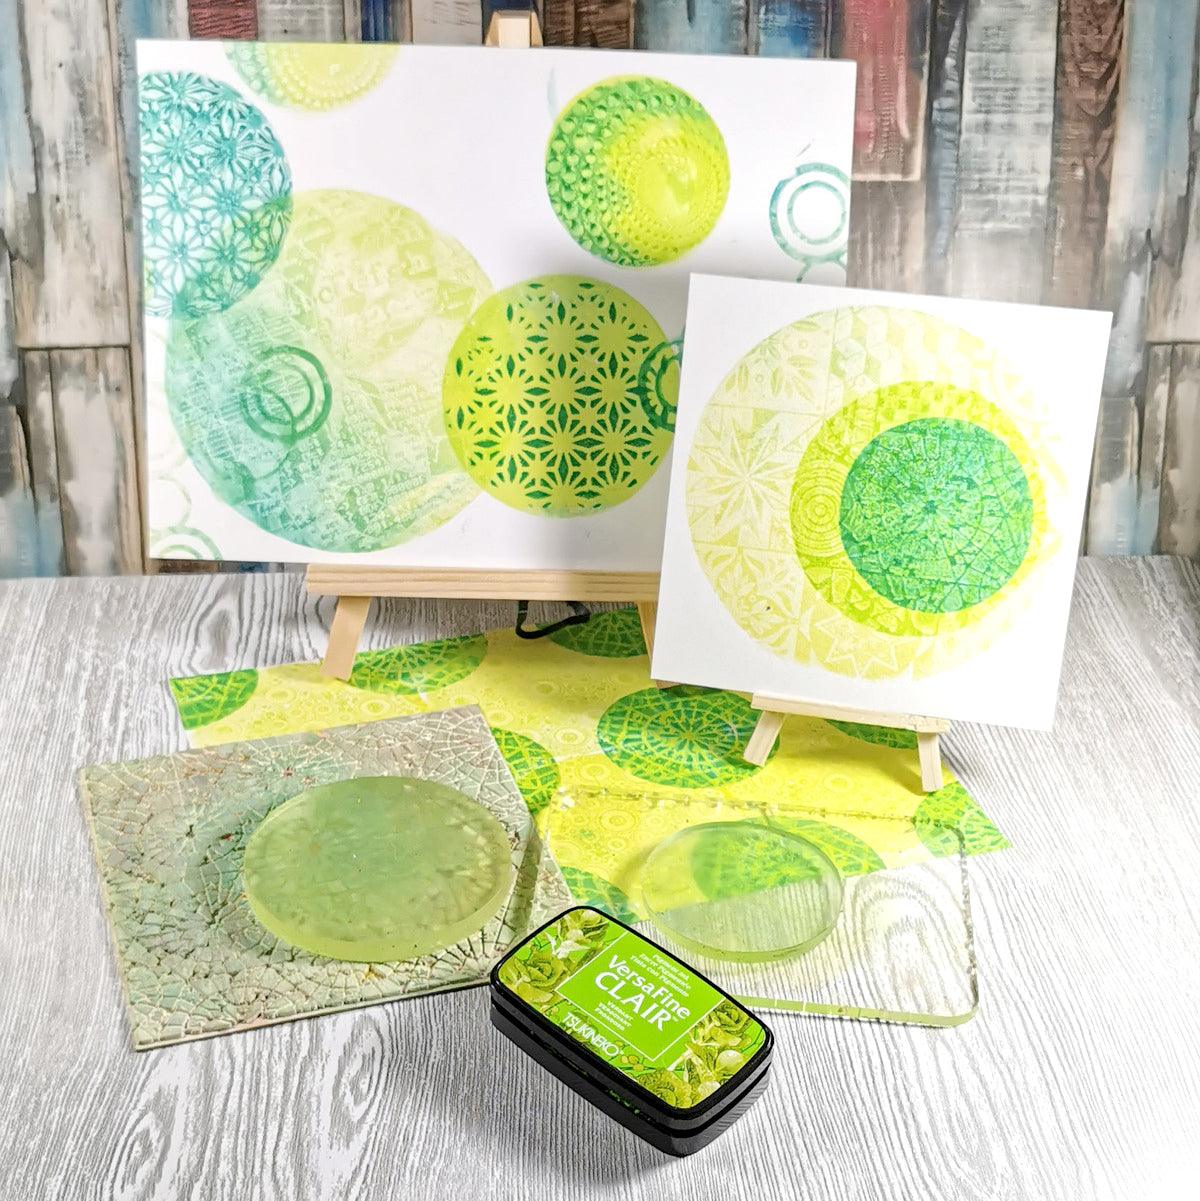
1. Gel Plate Printing
Gel plate printing is becoming very popular. It is a simple way to create monoprints. You use a gel plate to print. This plate can be used many times to make beautiful prints with bright layers of color.
The magic of this method is how easy it is. First, put ink or paint on the gel plate. Then, make some textures. After that, lay your paper on top. You can gently rub the back of the paper to transfer the ink. This will give you a special print that is all your own.
You can try different tools, stencils, and methods to make a series of prints. Each print will have its unique look and feel.
2. Trace Monoprinting
If you like the fun of drawing, try trace monoprinting. This method is interesting and simple. You create an image on a clear surface, like a gel plate, and then move it to paper for a more realistic, but unique, print. Check out this video to see how.
Start by putting a thin layer of ink on your chosen surface. Next, take a pencil or stylus and trace the image you want on the back of a sheet of paper. Then, place the paper, with the traced side down, on the inked surface.
When you trace, the pressure will transfer the ink. This gives you a special print with small changes and expressive line work. This method captures the feel of your drawing while adding a touch of spontaneity and chance.
3. Stencil Monoprinting
Stencil monoprinting is a fun way to make strong shapes and patterns. Start by making your stencil using materials like paper or acetate. Use a cutting tool to cut out your design.
Next, put ink or paint on your printing surface. Place your stencil carefully on top. Then, use a brayer or roller to spread the ink through the stencil holes. This will transfer the design to the paper.
You can make detailed designs or use several stencils to add layers and more detail. This way, it's easy to create a series of prints with different colors or ink textures.
4. Additive and Subtractive Monoprinting
Additive and subtractive monoprinting focuses on adding and removing ink to make lively images.
First, ink your printing surface. Next, use brushes, rags, or your fingers to add or take away ink. This helps you shape the image you want. By mixing these actions, you can create interesting textures, differences, and shades.
Enjoy the flexibility of this method. Let the process of adding and removing help your art come to life.
5. Backdrawing Technique
The backdrawing technique is also called the "trace and transfer" method. It uses a smooth surface like perspex or glass.
First, apply a thin and even layer of ink to the surface. Next, take a pencil, stylus, or even your fingers to draw your image on the back of your printing paper. Then, carefully place the paper, with the drawn side down, onto the inked surface.
The pressure from your backdrawing moves the ink to the paper. This creates a unique print that looks like your drawing. You can try different pressures and tools to get various line weights and textures.
6. Painterly Monoprints
For people who love the look of paintings, this method is just right. Painterly monoprints focus on the flowing nature of ink and the art of brushwork.
You can put ink or paint right onto your printing surface. This can be a gel plate or plexiglass. Then, use brushes, sponges, or even your fingers to move the paint around. This will create blends, textures, and active markings.
The prints you get look like watercolor or oil paintings. They show lively movements and beautiful changes in color.
7. Carborundum Monoprints
Carborundum monoprinting is a technique liked by artists such as Pablo Picasso. It gives a unique texture to prints. This method uses carborundum grit, which is a tough material used for smoothing surfaces.
You mix the carborundum grit with a binder. Then, you apply this mixture to your printing plate. After it dries, you add ink to the plate. Be careful about how the ink sits in the rough parts.
The prints you create will show rich textures and a special grainy feel. This adds depth and interest to your artwork.
8. Chine-collé in Monoprinting
Chine-collé is a method used in printing, like etching and monoprinting. This technique can make your monoprints more beautiful. It works by sticking a thin, fancy paper, often Japanese paper, to your printing paper while you print.
First, put adhesive on the back of the thin paper and place it on your printing paper. Next, add ink to your printing plate and use your favorite monoprinting style.
The chine-collé paper becomes a key part of the print. It adds a nice texture, color, or even pictures to some areas.
9. Monoprinting with Found Objects
Try something new with monoprinting using objects you find. Artists like Naum Gabo inspire this fun technique. It helps you be creative and try different ideas.
Collect interesting items with cool textures. You can use fabrics, leaves, or even bubble wrap. Get your printing plate or surface ready by inking it up.
Now, press the objects onto the inked surface, or use them to spread the ink. This fun method creates unexpected and beautiful textures. Each print you make will be an exciting surprise.
10. Multi-layered Monoprinting
Elevate your monoprints by using layers. This technique gives you many options for making rich and beautiful images.
Start by making a base layer. It can be an abstract texture or a clearer image. Once it’s dry, you can ink your printing plate again for a second layer. Be sure to align it carefully if you want.
Keep repeating this process. You can add as many layers as your image needs. Try out transparency, opacity, and different ink colors. This will help you create depth and interest in your prints.
Understanding the Monoprinting Process
Monoprinting is a simple process. It involves taking ink or paint from a flat surface and putting it onto paper. The great part is that what you make on the flat surface is what shows up on the print, even if it appears flipped.
Unlike other types of printmaking that use a matrix—a template to make many copies—monoprinting is all about being unique. Each print is a one-of-a-kind piece of art, even if some techniques can create a series or different versions.
Preparing Your Materials
Before you start monoprinting, make sure to gather your materials. You need a smooth surface that works well with ink. This can be a gel plate, plexiglass, or a regular sheet of glass. It’s best to use printing ink or paint meant for printmaking to get good results.
The paper you choose will affect how your final print looks. Try out different textures, weights, and colors. Use brayers or rollers to apply the ink evenly. You can also use brushes, sponges, or even your fingers to create various textures and effects.
Finally, protect your work surface. Monoprinting can be messy, but if you're well-prepared, you can focus on being creative. This careful setup turns your space into a printmaking studio where you can experiment and have fun.
The Printing Process Explained
The monoprinting process can change a bit based on the technique you choose, but it generally follows the same steps. Start by getting your printing surface ready. If you are using a gel plate, make sure it is clean and dry. If you have plexiglass or glass, you can clean it gently with rubbing alcohol to remove any dirt.
Next, put ink or paint on your surface. A brayer is great for getting a nice, even coating. Now, it’s time to get creative. Pick your technique, like gel plate printing or trace monoprinting, whatever you like best.
Finally, carefully place your printing paper on the inked surface. If you have a press, check its instructions to apply pressure. If you don’t have one, use a brayer or your hands to press down so the paper meets the ink well. Slowly peel back the paper to see your unique monoprint!
Conclusion
In conclusion, exploring different monoprinting techniques can open up many creative opportunities. There are various methods like gel plate printing and multi-layered monoprinting. Each offers a special way to show your artistic ideas. To master these techniques, it's important to understand the whole monoprinting process, from getting your materials ready to actually printing. Whether you are an experienced artist or just starting out, trying these new techniques can boost your art skills. Enjoy the spontaneity and uniqueness that monoprinting adds to your works. Let your imagination flow on paper. Start this exciting art form today and see the joy of making unique masterpieces!
Frequently Asked Questions
What is the difference between monoprinting and monotyping?
Monotyping means making a one-of-a-kind print using a clean and un-etched plate. Monoprinting, on the other hand, uses a matrix. This method lets you produce a series of prints, with each impression looking a bit different.
Can you use regular paper for monoprinting?
You can use normal paper, but it might not absorb ink well. This could affect the quality of your print. It is better to use paper made for printmaking. This type holds ink better and lasts longer.
How do you ensure each monoprint is unique?
Monoprinting is special because it does not use a set base to create prints. The way the ink transfers is open to chance. This means every print is one-of-a-kind. Changes in how the ink is applied, the pressure used, and even small movements of the hand make each print different.
What are the best inks to use for monoprinting?
Water-based and oil-based inks can both be used for monoprinting. Think about the drying time, how clear the ink is, and how bright the color should be when you choose. Good-quality, artist-grade inks give bright color and last a long time.