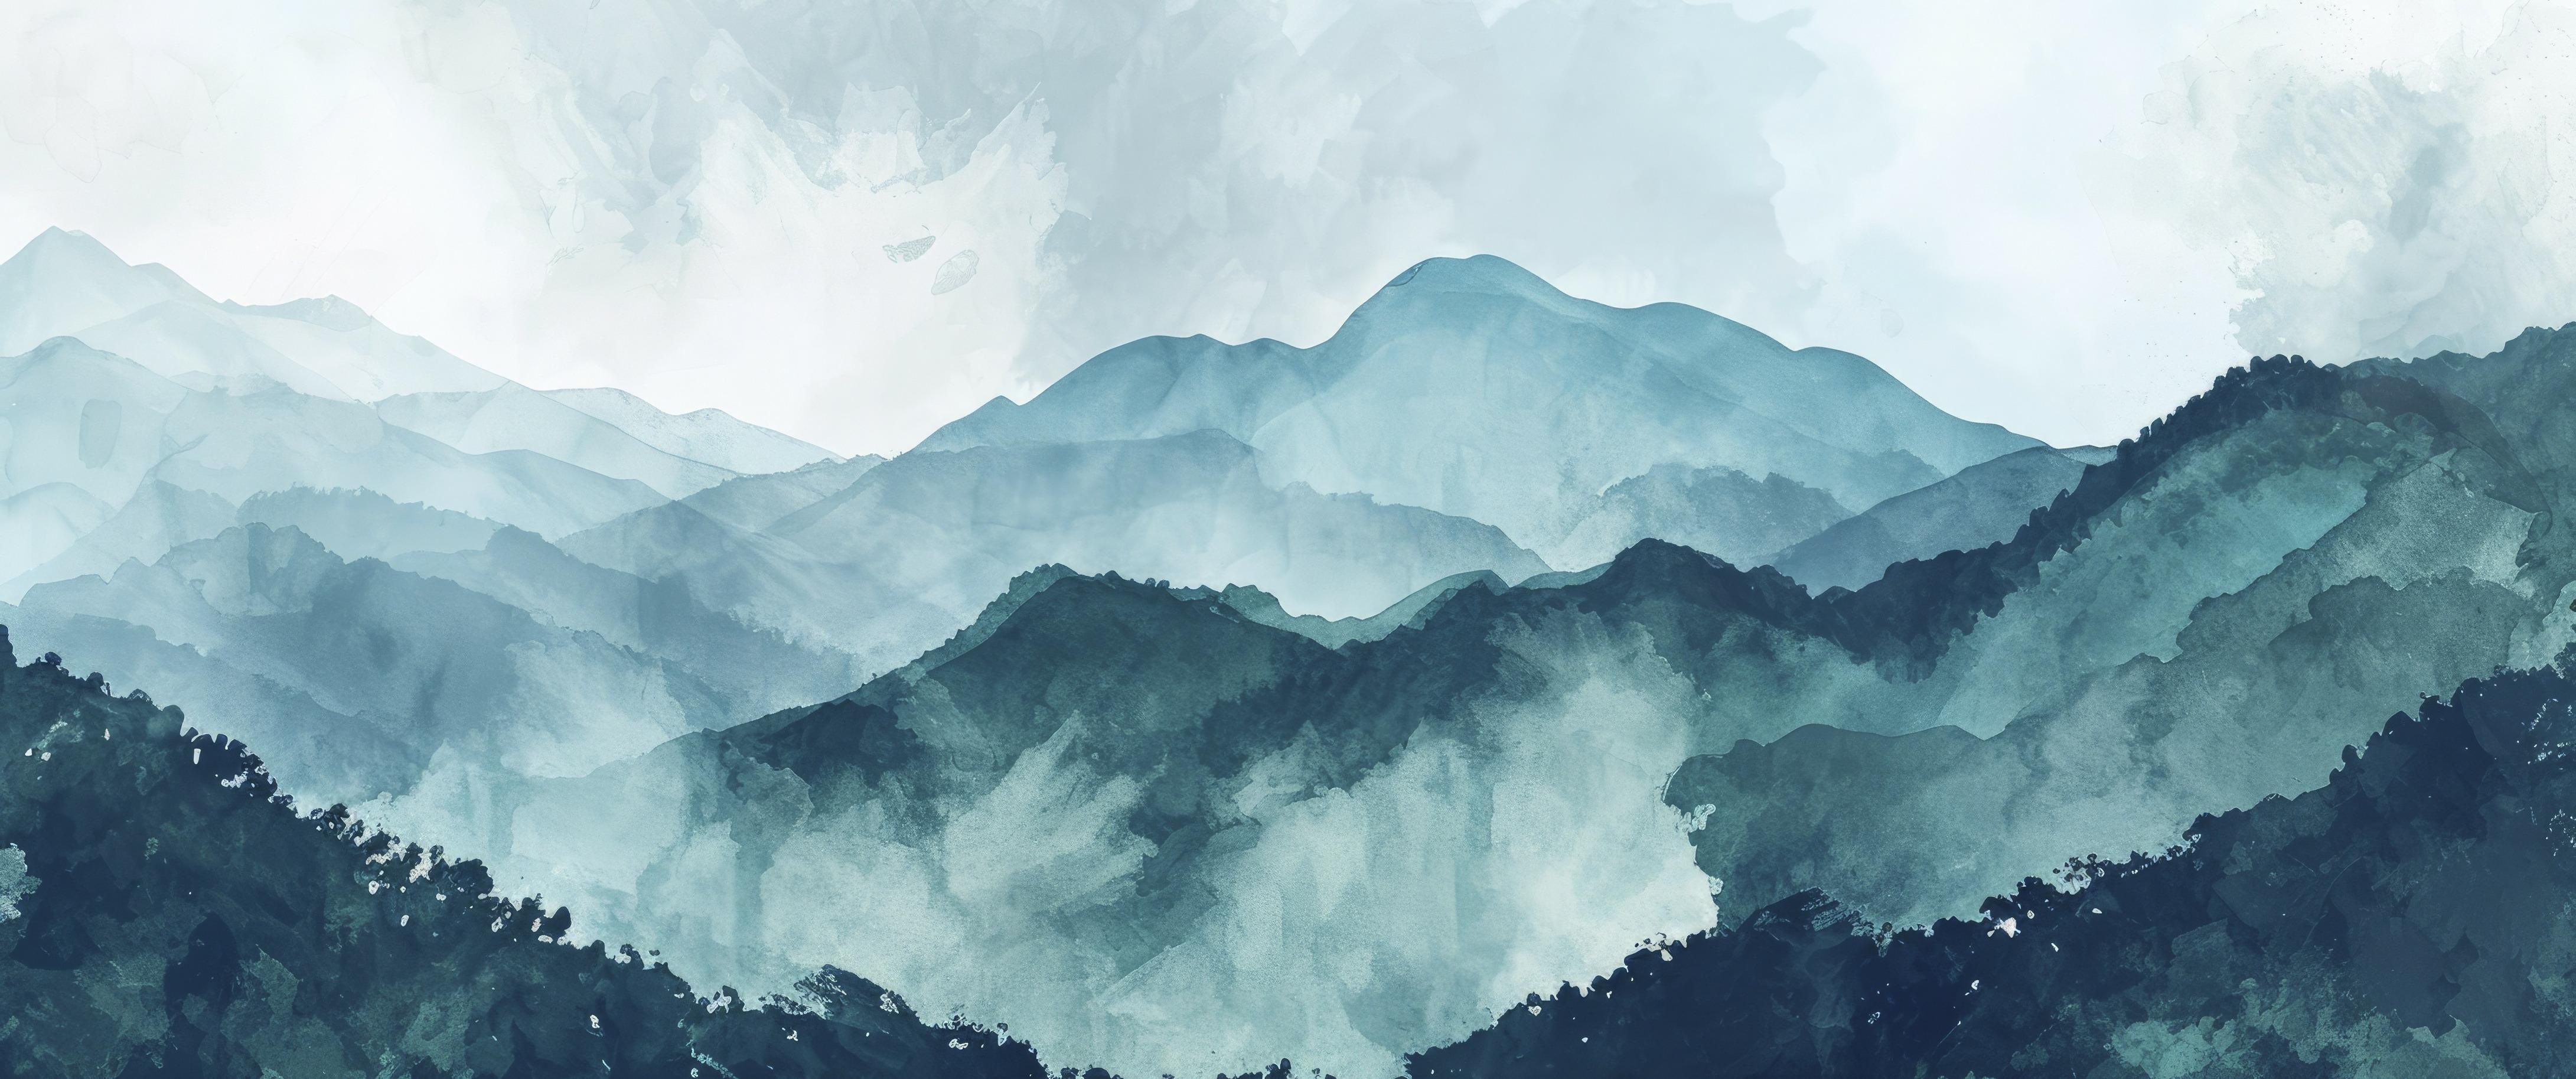
Monoprinting with Watercolor
The art of printmaking is a versatile and endlessly fascinating creative avenue. Maybe you've dabbled in linocuts or screen printing, experimenting with the interplay of color, line, and texture on a single canvas. But have you tried monoprinting with watercolor? This delightful technique offers a great entry point for beginners looking to dip their toes into the world of printmaking without daunting commitments.
Let’s unravel the magic of monoprinting with watercolor, guiding you through each step and empowering you to produce captivating, one-of-a-kind prints that are imbued with the fluidity and vibrancy that only watercolor can provide.
What is Watercolor Monotype?
A watercolor monotype, also known as watercolor monoprint, is a technique that essentially involves a single impression transfer from a painted surface onto paper. The result is a unique, unreproducible print with a dreamy, watercolor aesthetic. It's a process that marries the discipline of printmaking with the spontaneity and expressiveness of watercolor painting.
Can You Use Watercolor for Printmaking?
Yes, and it's an excellent choice for beginner printmakers due to its simplicity and accessibility. Watercolor's transparent nature and ability to produce vibrant, fluid marks make it perfect for creating expressive monoprints. Unlike traditional printmaking inks, watercolor allows you to blend, layer, and experiment with a color palette that's only limited by your imagination.
Can You Use Watercolor on Gel Plates?
Watercolor works beautifully on gel plates, creating a monoprinting surface that's forgiving and allows for easy experimentation. When paired with this modern monoprinting tool, watercolor paint can produce stunning results with a distinctively smooth blend and texture.
Getting Started with Monoprinting
The Materials You'll Need
Before you start creating, gather the following materials:
- Watercolor paints (tubes or pans)
- Watercolor paper
- A brayer (or a smooth roller)
- A palette knife (for handling paint)
- A gel plate (or any non-porous, smooth surface)
- Brushes of various sizes
- Masking tape (to secure your paper)
Creating Your First Watercolor Monoprint
Step 1: Preparing Your Space
Set up a work area that can get a little messy. Ensure you have plenty of space to lay out your paper and painting supplies. If you're working on a table, protect it with a drop cloth or newspaper.
Step 2: Mixing Your Colors
Water down your watercolor paints to a consistency that's not too thick or too thin. This allows for smooth application and easy transfer onto your paper. Remember that watercoIor dries lighter than it appears when wet, so you may want to mix slightly darker or more vibrant colors.
Step 3: Applying the Paint
Using brushes or even your fingers, apply the watercolor to your gel plate, creating the desired pattern or image. This process is similar to creating a painting, so enjoy the freedom to play with saturation, blending, and color placement.
Step 4: Pressing Your Print
Carefully place your watercolor paper on top of the painted gel plate. Use gentle yet even pressure to ensure good contact between paper and plate. Then, smooth out the back of the paper with a brayer or your hands to transfer the paint.
Step 5: Reveal Your Print
Slowly peel the paper off the gel plate to reveal your monoprint. Admire the unique texture and blend of colors. Each print you make using this method will be distinctive, which is part of the charm of monoprinting.
Step 6: Experiment and Learn
Don't be afraid to make multiple prints from a single application of paint. Each one will turn out differently, and as you become more confident, you can learn to control the outcomes.
Techniques and Tips
Blending and Layering
Because watercolor is so fluid, it's effortless to blend colors directly on the printing surface. You can also create monoprints with multiple layers by allowing the first print to dry, then adding more paint for a second pull.
Texture Play
Monoprinting with watercolor opens up the opportunity to add texture in various ways. Press textured objects like leaves or fabric onto the painted gel plate before adding the paper for a unique effect. You can also scratch into the paint on the gel plate to create delicate lines and textures.
Adjusting Pressure and Tool Choice
The amount of pressure you use when pressing the paper onto the gel plate will affect the final print. Experiment with light and heavy pressure to see how it impacts the transfer of paint. Additionally, tools like sponges and cotton buds can be used to create different effects.
Monoprinting as a Journey
Creating monoprints with watercolor is a magical way to express yourself artistically. This medium is filled with discovery, from the unpredictable nature of the process to the sheer joy of uncovering each unique print. Remember, the beauty of monoprinting lies in its imperfections and individuality.
Conclusion
This guide serves as your springboard into the realm of monoprinting with watercolor. As you experiment and gain experience, you'll develop your techniques and personal style. Share your creations, learn from others, and most importantly, have fun with the process. Monoprinting is all about embracing the moment and celebrating the serendipitous outcomes that each session brings.
Ready to create your first watercolor monotype? Take out your paints, prepare your paper, and enjoy the meditative act of monoprinting. You're about to witness the enchanting fusion of color and transfer right before your eyes.
Don't forget to tag your prints on social media with #WatercolorMonoprint. Join the online community of printmakers, and see just how endless the possibilities are with this captivating blend of watercolor and monoprinting. Remember, every print is a step in your creative evolution!
For more inspiration, head to your favorite art store and pick up some watercolor supplies. The joy of printmaking awaits, and it's yours to explore. The monoprints you create are not just vibrant marks on paper; they are tangible moments of your artistic growth.
Keep pressing on!

