Making art with my Gel Press is my main crafty expression of creativity, but it’s definitely not my only one. I also do improv comedy, and it helps me work a different part of my imagination. I decided to mix the two, Gel Press and improv, and see what happened. I spent some time working on a scrapbook page featuring a picture of me that really captures my goofy improv side. I knew I wanted it relatively simple, so the picture could shine, and I also wanted the background to be subtle but interesting. When you see what texture I used, in my usual Plus One Craft style, you’ll understand how my improv side influences my Gel Press side. 🙂
Supplies for today’s project
- Gel Press 12×12 plate
- Gel Press 3×5 plate
- Red, silver, and black acrylic paint
- brayer
- stencil
- white 12×12 paper
- a goofy picture of me
- assorted embellishments (I used scrapbooking paper, washi tape, die cut glitter paper, rhinestones, a chipboard tag die cut from an old board game box, and display letters)

I knew my background would involve a few layers. I brayered the red paint all over the 12×12 Gel Press plate, and then I used my absolute favorite texture for creating wonderful, colorful, subtle backgrounds that are still full of detail…
Sometimes the best textures are right under your nose - or feet!
That’s right, it’s a bath mat! But not just any bath mat – this one has lots of little plastic “hairs” in circular groups that squish in all directions when you use it on a Gel Press plate. I think I got it for around $7 at a a big box discount store, and it was pretty big. It makes prints that are the perfect ratio of color to white space, and gives a level of randomness to prints that only come with these sorts of odd textures. I used it for the red layer, and then the black layer.

On top of those wonderful red and black layers, I really wanted some shine. I grabbed a nearby stencil and brayered some silver paint just in the corners of my plate.

Knowing that the silver would only show at certain angles, I decided to use the stencil in a different way. While my paint was still wet, I wiped some of it away through the stencil using a baby wipe.

Here’s how the baby wipe technique turned out!
It’s a technique you can also use right on the Gel Press – place the stencil over a Gel Press that has had paint brayered on to it, and wipe some away with the baby wipe before pulling your print.
Who’s that making that silly face?

Here’s the picture I decided to use on my page, with its scrapbook paper background. It was taken by a fellow improviser and a great photographer, Mike McFarland, while we were both at Camp Improv Utopia East last year. This photo of a black and white copy of the original photo doesn’t do his work justice, but I like how it works on this page. He got me to make this face by asking me to try to show two different emotions at once. I wish I could remember which ones I was expressing here!

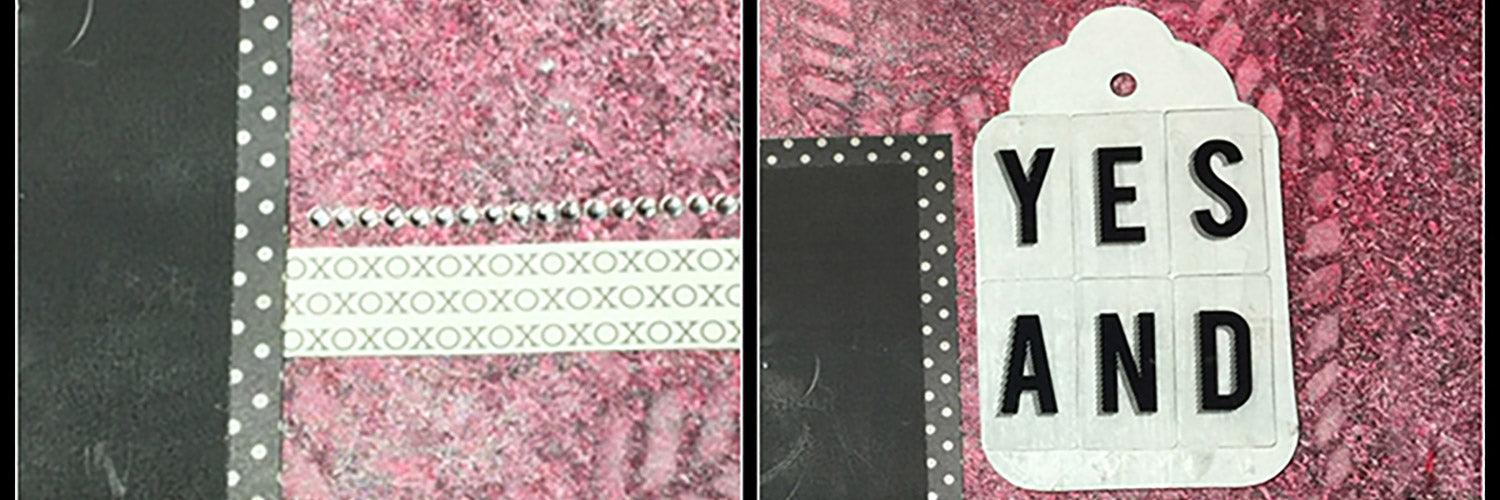
One of the embellishments I decided to add was a chipboard tag. I buy old games at yard sales and rummage sales for the pieces and boards, and I discovered the boxes are great to use for die cutting embellishments. This tag was cut from a box that used to hold a Russian edition of Monopoly. I gave it a quick white background with my 3×5 Gel Press plate. It’s always nearby, because I’m always pulling it out to slap color and texture on something.

I didn’t go into great detail on my embellishments, because it often ends up being pretty personal and specific to the particular scrapbook page. I pulled out a lot of candidates for the final page, and then just sort of… improvised. I do have some general techniques, which tend to follow me from project to project – I like to have a line of rhinestones to add some shine, I often have some die cut glitter paper to balance the rhinestones, I love adding text wherever I can, and I always try to use washi tape because I have a ridiculous amount of it. 🙂 Really, figure out what works for you, while balancing solids with patterns, matte with shiny, bold with subtle, and flat with dimensional.

I love how this turned out! I’m particularly happy that my “plus one” element (the upcycled tag) has the message for this piece. “Yes and!” is often called the first rule of improv – you say yes to your partner, and then you add your own thing. Together, you build something amazing. I’m glad I could capture that philosophy, both in my piece and my approach to it.
Check out Gel Press on Facebook, Pinterest, and YouTube!!
And make sure to read my bio page, for links to my website and social media accounts.
Create Every Day,

Jen Kitchen - Contributing Artist for Gel Press


