
Hi everyone. I’m thrilled to share with you how I created fabric bead necklace using the Impressables Rose Mandala printing plate. I’ve had the opportunity to wear it a couple of times and people always ask me about it. Such a fun, and surprisingly quick project.
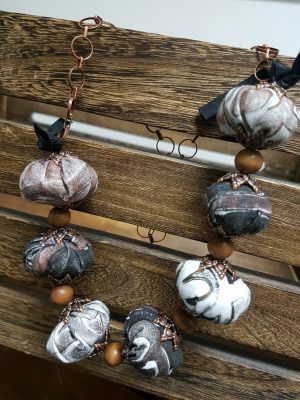
The color I chose along with the embossed printing plate make the fabric look batiked. I love the look on people’s faces when I tell them I made it!
Supplies Used:
- Gel Press Printing Plate – Impressables Rose Mandala
- Brayer
- White Cotton Fabric – a Fat 1/8th should be enough
- Black and Copper Fluid Acrylic Paint
- 14 Copper Bead Caps (Large)
- 6 Wooden Beads
- Nylon Monofilament Thread
- Needle (with large enough eye to thread the monofilament)
- Neutral Color Thread and Needle
- Polyfil
- Black Ribbon or Black Double Fold Bias
- Copper Chain (and Clasps – optional)
- Jewelry Pliers

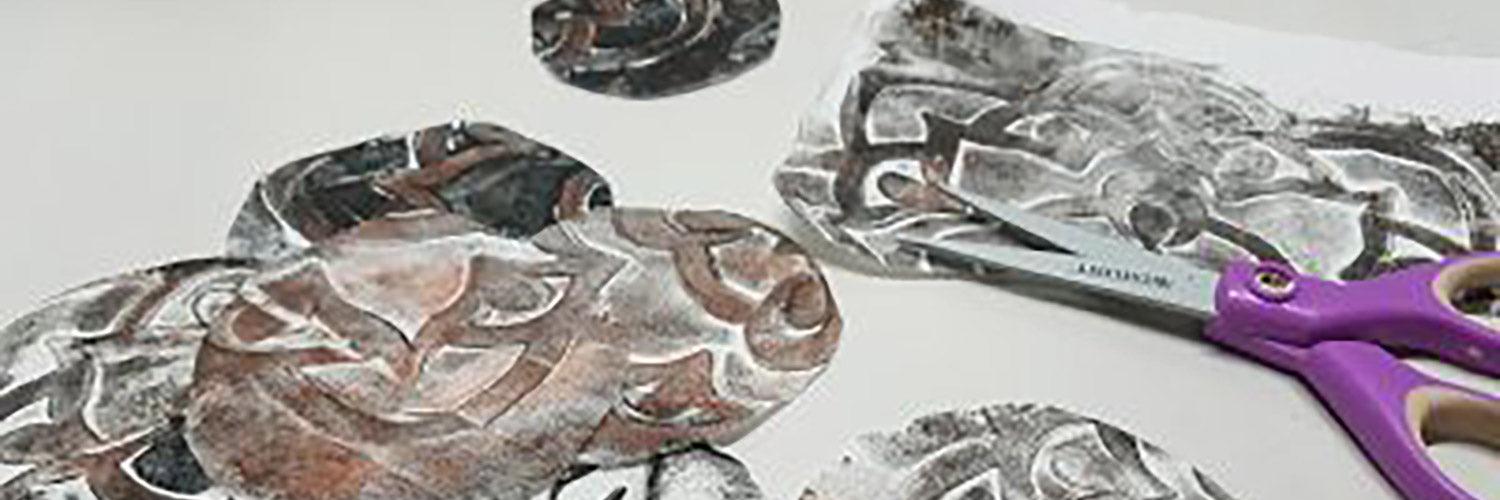
Are you ready to create a necklace for yourself? Using your brayer, spread a layer of black paint (and then copper on the embossed portions) and make a print with the white fabric. Be sure to press the fabric into all the embossed crevasses.

I like to make sure that I create prints with varying color intensities so I have more design options when I create the bead “puffs.”

Cut the fabric into circles so they’re ready to stitch. The circle size will depend on how large you’d like your beads. I made mine approximately 2” round. I hand cut these with a sharp pair of scissors to ensure that they weren’t exactly the same size – so no pressure here!

Using a running stitch, stitch the circles on the right side of the fabric, stuff with Polyfill and stitch closed to create the round puffy beads.


To assemble the necklace, knot the ribbon around both chain ends (at the break). This will make it easier to securely sew together and creates some extra interest as well. Thread the needle with the monofilament, knot the end, fasten to one ribbon end. Thread your bead caps, puffs, and beads as shown and finish by knotting the thread through the ribbon on the other end of the chain. Now you’re ready to wear.

I washed my fabric before printing. It’s always a good idea to do that as it removes any sizing and particles in the fabric from the manufacturing process. I also use fluid acrylics or fabric paints when printing fabric as I find it leaves the fabric softer, and prevents cracking paint. Have fun, play and enjoy! I think I’ll need a color for every season!
Happy printing!

Karen Ellis


